
To install or update the Zoom application for your MacBook, please follow these steps:
-
Launch the Zoom app on your MacBook.
If you already have Zoom installed and are not automatically prompted to update, click Zoom.Us in the upper left-hand corner of the toolbar and select “Check for Updates.” Unable to check for updates due to an error? Please manually download the “Zoom Client for Meetings” from http://zoom.us/download.Then, continue with Step 3 below.
If you do not have Zoom already installed, please download the “Zoom Client for Meetings” from http://zoom.us/download.Then, continue with Step 3 below.
-
A dialogue box will appear. Follow the prompts.
-
On the Installation Type screen, click “Change Install location” rather than Install.
-
Select “Install for me only.”
-
Follow the remaining prompts.
-
Restart your computer for complete install. If you are unable to complete the Zoom update, please submit a BVCARE help ticket.
-
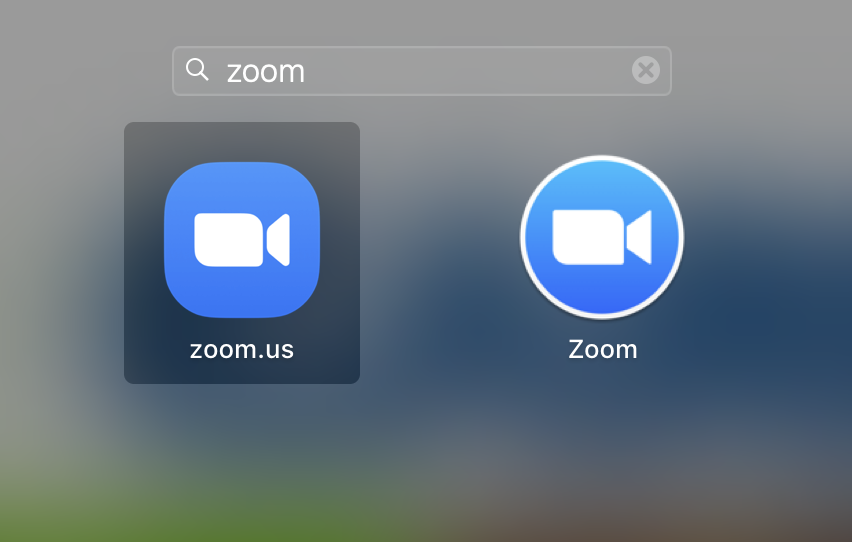
A successful installation of the Mac “Zoom Client for Meetings” will have the icon on the left below named “zoom.us” - the icon on the right is a Chrome browser Zoom “app” which is less featured and not the preferred client on the Mac.


Once your installation is complete, you should be ready to participate in Zoom calls. Simply click the “Join a Meeting” option on the Zoom dashboard from inside of Canvas. Otherwise, when you launch the zoom.us application, enter the meeting ID and/or passcode when prompted (provided by your teacher).